
Getting to know kubernetes
For the most part, I followed this tutoria from David Tippet
to install and correctly configure the ports for microk8s on virtualbox.
I followed the tutorial using Ubuntu 22.04 LTS, and everything worked as expected.
The only thing changed was how to get the MicoK8s token.
For that I did it with this command
microk8s config
Doing a Hello World deployment
In order to understand how to deploy a docker image, there is a little tutorial from the official microk8s documentation
First service in Kubernetes.
This tutorial uses the cli to do the deployment, but with those steps you can do it from the dashboard itself
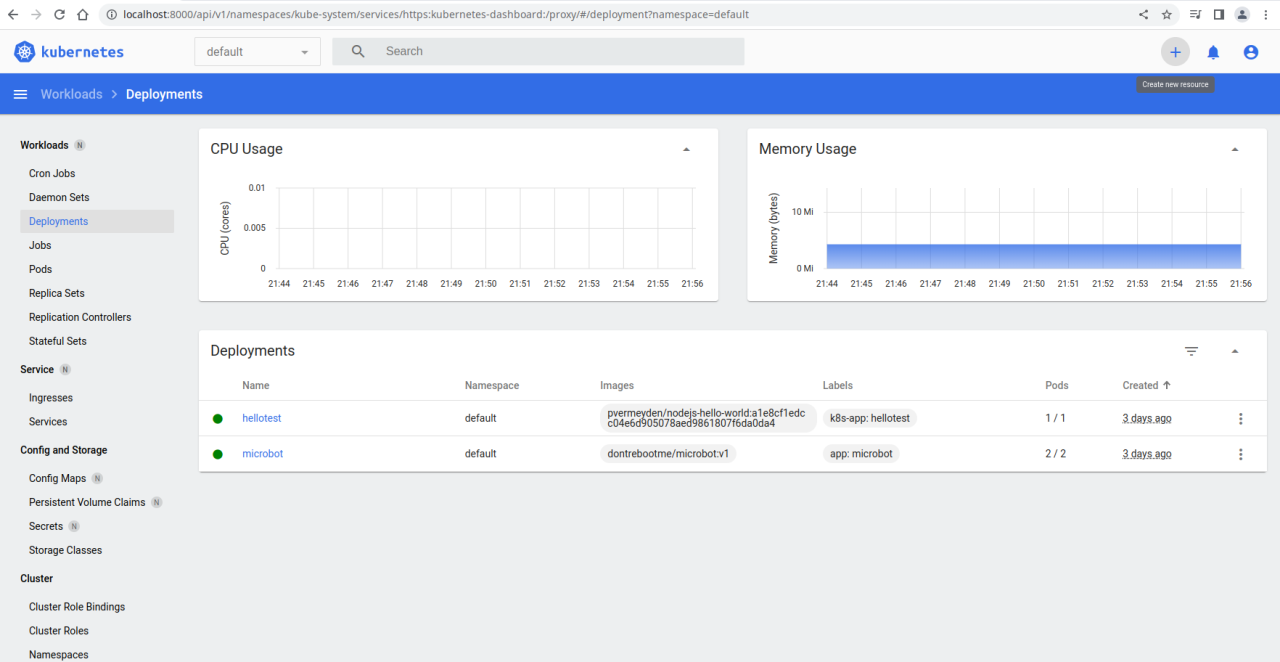
Log Into the Dashboard
Once you log into the kubernetes dashboard, head to <deployments> on the left side menu.
From here, click the <add new resource> button on the top-right.
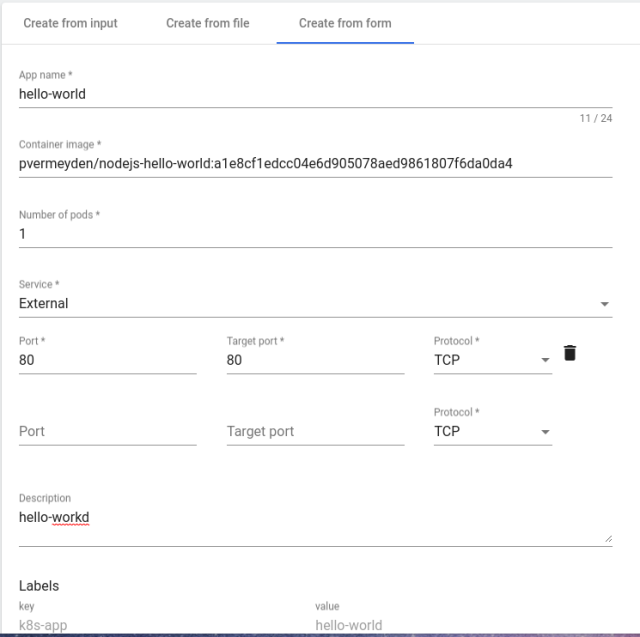
Fill in the form and the docker image use the image + tag for the container image, since the example does not have a tag, docker generates a random one, and set the ports to 80/80
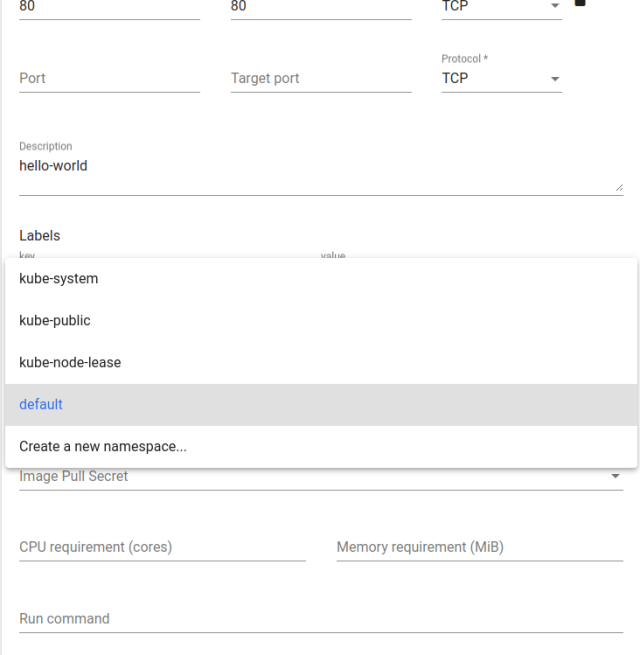
From here, fill in the rest of the form and click <Show Advance Configuration>, change the deployment namespace to default
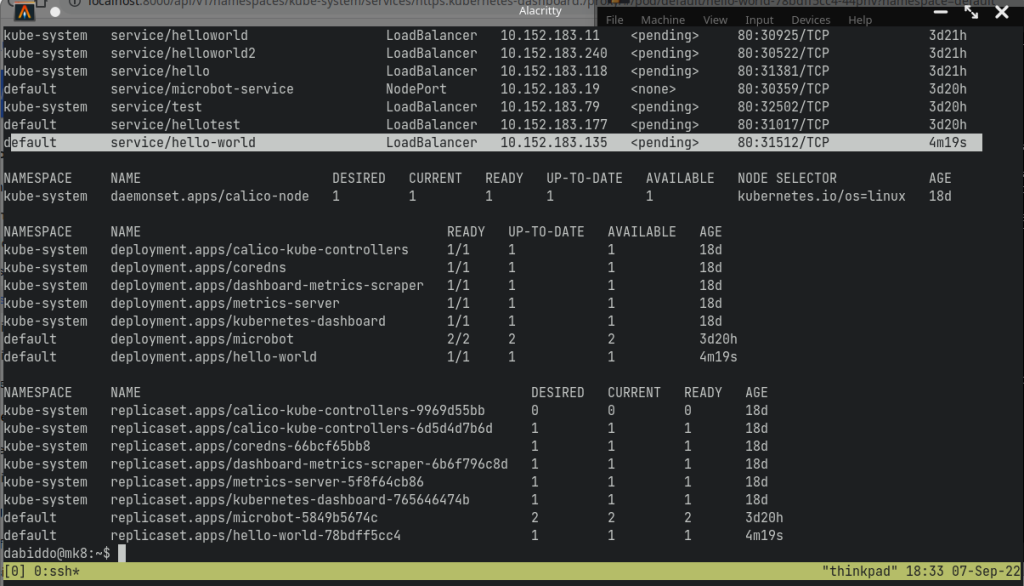
Once everything is correct, click on the <deploy> button and head to the ssh cli and run the namespace command.
microk8s kubectl get all --all-namespaces.
This will list all the namespaces and you will see you new pod with the given port by kubernetes.
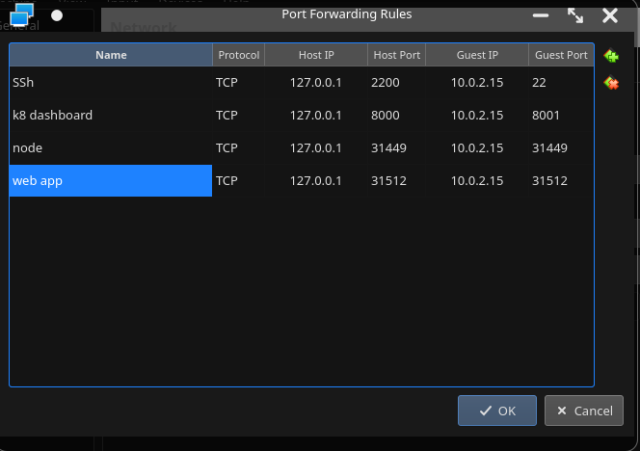
Add this port to the list of port-forwards on virtual-box, and you will be able to see the hello world docker running from your kubernetes node.
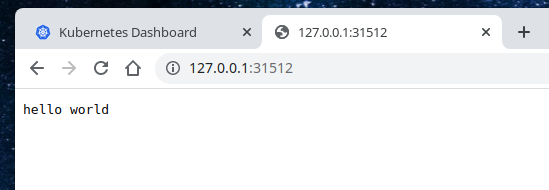
 You should be able to see the
 hello-worldmessage on the browser
If you do not see the message, restart the proxy on the microk8s virtual box.